0
min read

How to set up ProductDNA

Step 1

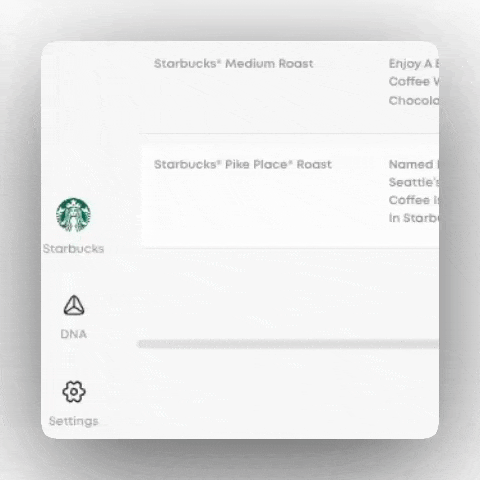
From the home screen, navigate to the menu on the left column and hover over “DNA”, then click on "ProductDNA™".

An animated gif showing how to find ProductDNA from the home screen.

Step 2

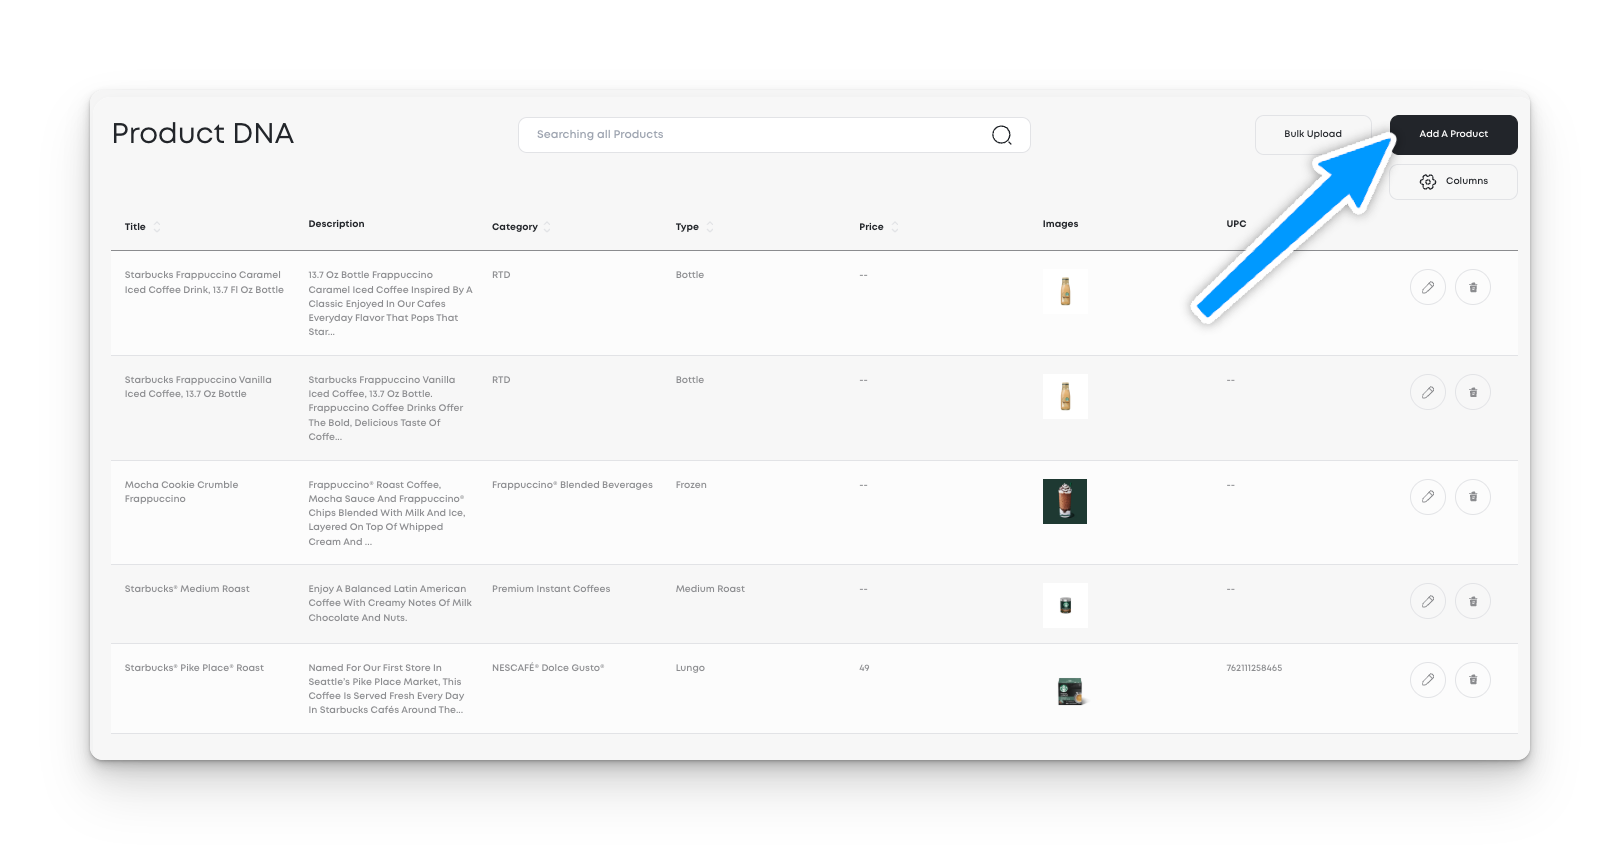
On the top right of “Your Products” page, select “Add Product”.

Step 3

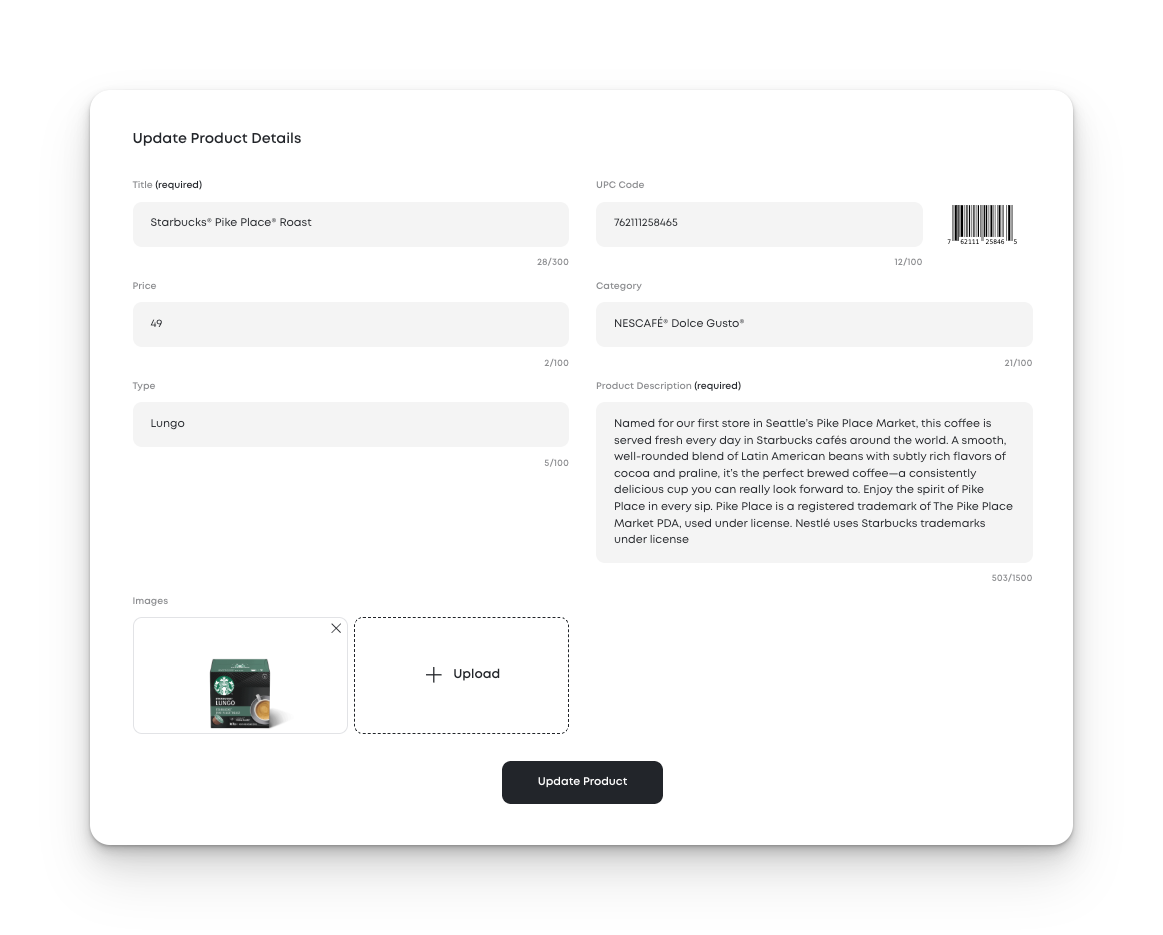
Add your product information and click “Save Product”.

A form interface titled "Update Product Details" used to edit product information. It includes fields for Title, UPC Code, Price, Category, Type, and Product Description. A product image is shown at the bottom left, with an option to upload additional images. A barcode is displayed next to the UPC Code field. The "Update Product" button is located at the bottom center.

Step 4

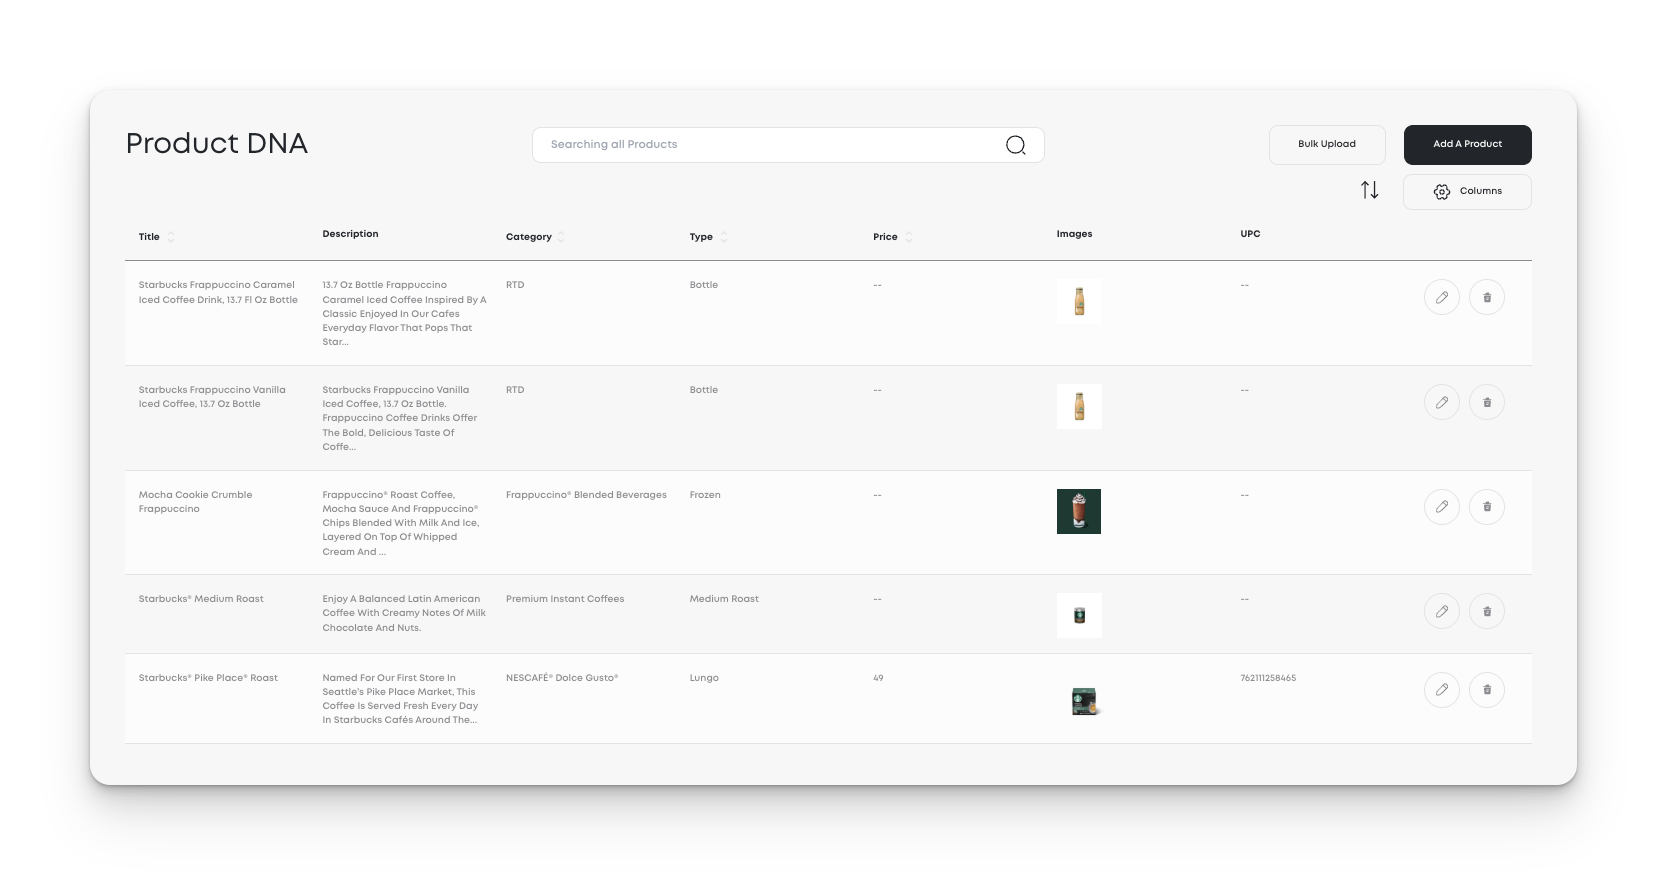
You are all set, repeat for all your products. You will see your product catalog with the information you’ve added.

A user interface displaying a product management table labeled "Product DNA." The table includes columns for Title, Description, Category, Type, Price, Images, and UPC. Five Starbucks products are listed, each with brief details and thumbnail images. Buttons for "Bulk Upload," "Add A Product," and "Columns" are located in the top-right corner. A search bar sits at the top center.

Once you’ve added a product, when entering any brief that asks for your product name, simply start typing any product from your catalog and MorningAI will give you the option to pre-populate that information for that brief. You are now all set to pull your product information into your content!

A compact UI widget labeled "ProductDNA" featuring a dropdown menu with the selected product "Starbucks® Pike Place® Roast." Below it is a section titled "Available product images" displaying a thumbnail of the product packaging. The interface includes a subtle info icon next to the input field label.

In this article