

How to Create Stunning Images in Studio: The Complete Beginner’s Guide


Creating images with artificial intelligence might feel like magic—you type in a few words and instantly see your ideas come to life. With MorningAI’s Studio, anyone can create scroll-stopping visuals—even if you’re just getting started. This guide walks you through the basics, explains key settings, and shares helpful tips to make your first image a success.
What is AI Image Generation
AI image generation turns text into pictures. You simply describe what you want to see, and Studio uses artificial intelligence to create it. This could be a photo, illustration, or even a digital artwork of anything you imagine - products, people, scenes, or even abstract designs.
Step-by-Step: How to Create an Image in Studio
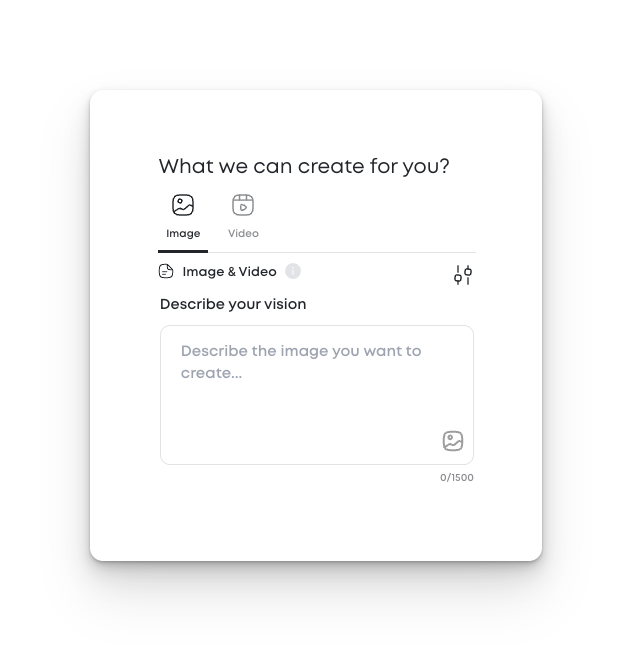
Open the Image Generator
Write Your Prompt
- Type a short description of what you want to see (up to 1,500 characters).
- Click “Generate” to create your image.
- Studio will generate 4 images at a time.
💡 Pro Tip: The first few words in your prompt matter most. Start with the important stuff.
Optional Settings
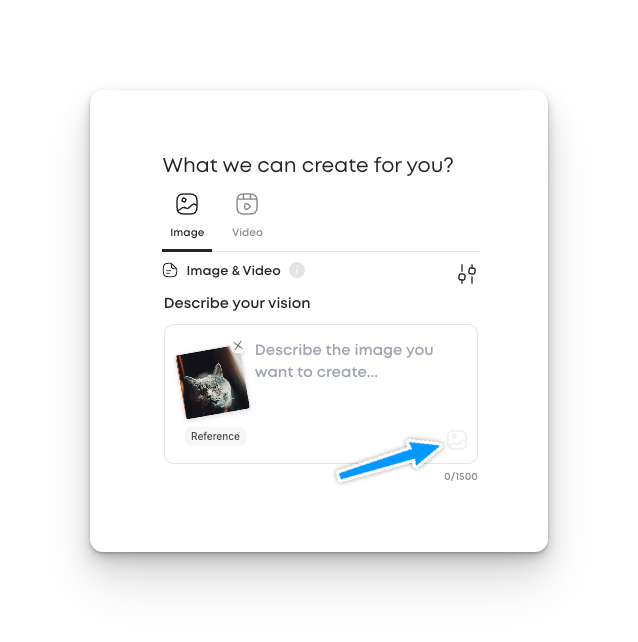
Add a Reference Image
Click the photo icon to upload an image. This helps Studio better understand what you want - especially useful if you’re working with products, packaging, or specific people.
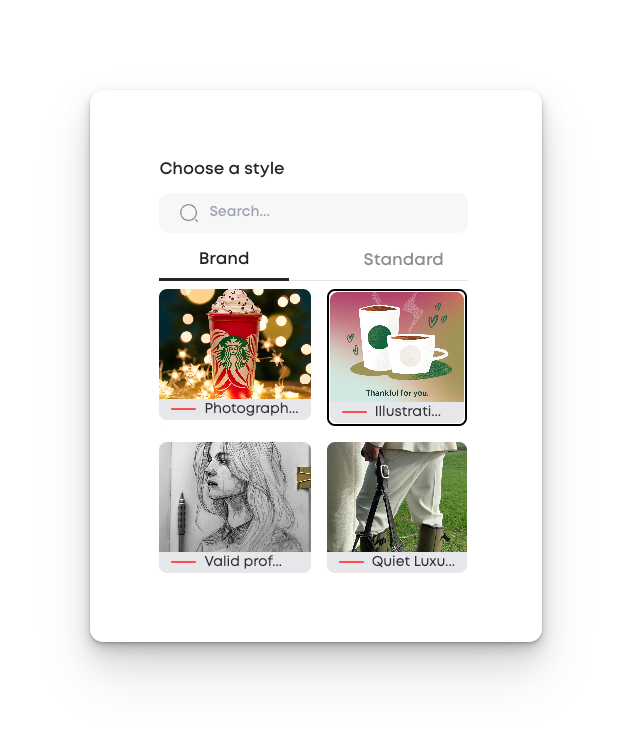
Choose a Style
- Pick from Branded Styles (custom to your brand) or Standard Styles (50+ available).
- Use the search bar to find specific styles.
- Hover over a style to see examples and best practices.
Choose a Target Audience
Want your image to appeal to a certain type of customer? Choose a persona—like "luxury shopper" or "budget-conscious parent"—and Studio will adjust the image accordingly.
Customize Settings
You can tweak these details to match your needs:
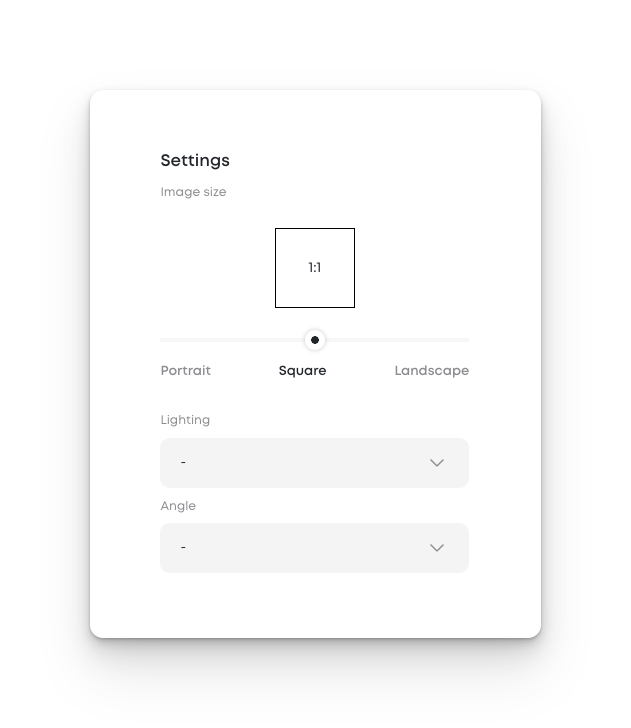
- Aspect Ratio:
- Square (1:1 – default)
- Portrait (3:4 or 9:16)
- Landscape (4:3 or 16:9)
- Lighting Style:
Natural, soft light, studio light, golden hour, and more - Camera Angle:
Choose close-up, wide-angle, bird’s-eye view, macro, and more
Prompting 101: How to Write a Great Prompt
Here’s a simple framework for writing better image prompts:
Subject
What should the image focus on?
Example: a cup of coffee, a pair of sneakers, a bottle of shampoo
Style
Do you want it to look realistic, artistic, clean, bold, vintage, or something else?
Scene & Details
What’s in the background? Is it indoors or outdoors? What time of day?
Branding Cues
Mention any brand colors, fonts, or visual elements you want included.
Use the Chat Assistant
Type a simple idea (like “make a picture of a refreshing soda”) into the Studio chatbot and ask it to enrich your prompt. You’ll get a much better result.
What to Do After Your Image Is Generated
Once your image appears, you’ll see several buttons:
- Edit – Open the AI image editor
- Download – Save it as a PNG (about 1.5MB)
- Animate – Instantly turn your image into a short 5-second video (takes about one to two minutes)
Note: Advanced editing and animation are covered in separate guides.


